-min")
¿Why basement finishing is a great way to increase my home value? Imagine this: you add hundreds of square feet to your house. But you don’t expand outward. Finishing your basement is the answer! It boosts your home’s worth. Plus, it makes space for your family to spread out. It also gives you more room to do what you love. This article will guide you through the steps to finish your basement finishing right.
Planning and Preparation: Laying the Groundwork for Success
Before you pick up a hammer, you have to plan. Good planning makes your project go smoothly. It also helps avoid costly errors with your basement finishing project.
Assessing Your Basement’s Potential
First, look at your basement. How high are the ceilings? Are there pipes or wires in the way? Basements also have moisture problems. You need to find and fix these issues first your basement finishing project initiate.
Most building codes want basement ceilings at least seven feet high. Check your local rules! If your ceiling is lower, you might need to lower the floor.
Water is a basement’s worst enemy. Check for cracks in the walls. See if there is dampness on the floor. You might need to waterproof the walls. You could also improve the drainage outside. A dry basement is a must!
Budgeting and Financing Your Basement Finishing Project
Next, how much will this cost? It’s important to be honest with yourself. Get quotes from contractors. Price out materials. And don’t forget permits.
Finishing a basement involves costs. These include framing, insulation, drywall, flooring, electrical, and plumbing. Also add in paint and trim. Permits can cost hundreds of dollars.
How will you pay for all this? Many homeowners use a home equity loan. Others tap into a line of credit. Some save up the cash. Pick the option that works best for you.
Creating a Detailed Basement Finishing Design Plan
Now, think about what you want. Will it be a home theater? Maybe a guest suite? A home office perhaps? Draw up a plan. Get it on paper. It will guide your project.
Think about how you’ll use the space. Then design the layout. A scaled floor plan helps. It shows where walls, doors, and windows will go. This makes sure everything fits!
Essential Steps: Waterproofing and Framing
Waterproofing is key. Then comes framing. It creates the bones of your new space.
Ensuring a Dry Basement: Waterproofing Best Practices
Keep water out! It is vital. This protects your investment. It also keeps your family healthy.
Seal the inside walls. Use a vapor barrier. This stops moisture from getting in. For bad water problems, dig outside. Then waterproof the outside walls.
Framing Walls and Ceilings: Building the Structure
Time to build walls! Use wood or metal studs. Make sure they are straight and strong. Follow local building codes!
Build walls a few inches away from the concrete. This allows for insulation. It also stops moisture. Insulate the walls well. This keeps the basement warm in winter. Plus it helps with sound.
Electrical, Plumbing, and HVAC: Installing the Systems
Basements need power, water, and good air. Plan these systems carefully.
Electrical Wiring and Lighting: Powering Your Basement
Run new wires for lights and outlets. Hire a pro if you are not comfortable with electrical work. It can be dangerous.
Use GFCI outlets in wet areas. Bathrooms and near the bar. Make sure you have enough circuit breakers.
Recessed lights look great in basements. Add lamps for soft light. Task lighting is good for desks or work areas.
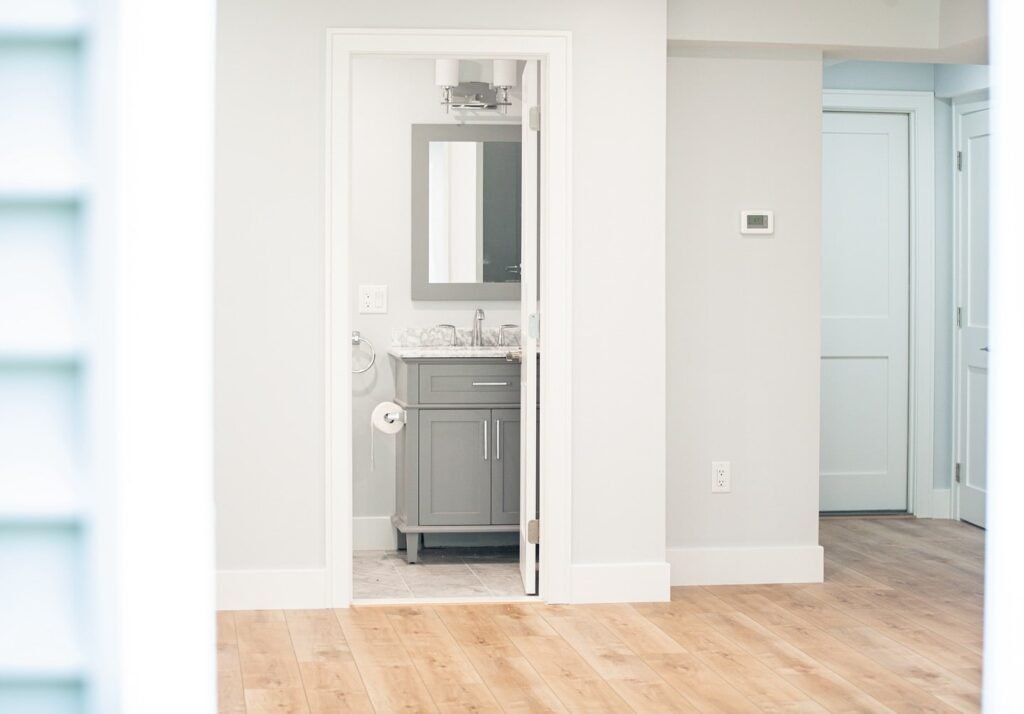
Plumbing Considerations: Adding Bathrooms or Wet Bars
Adding a bathroom or wet bar? You’ll need plumbing. This includes drain lines and water supply lines.
Plan where the pipes will go. Think about ventilation. Proper venting prevents bad smells. It also keeps the air fresh.
Heating, Ventilation, and Air Conditioning (HVAC)
Keep your basement comfortable. You need heating and cooling.
You can extend your existing HVAC system. Or, add a separate system. Ductless mini-splits are a good choice.
Good airflow is important. It prevents mold. Plus, it keeps the air fresh.
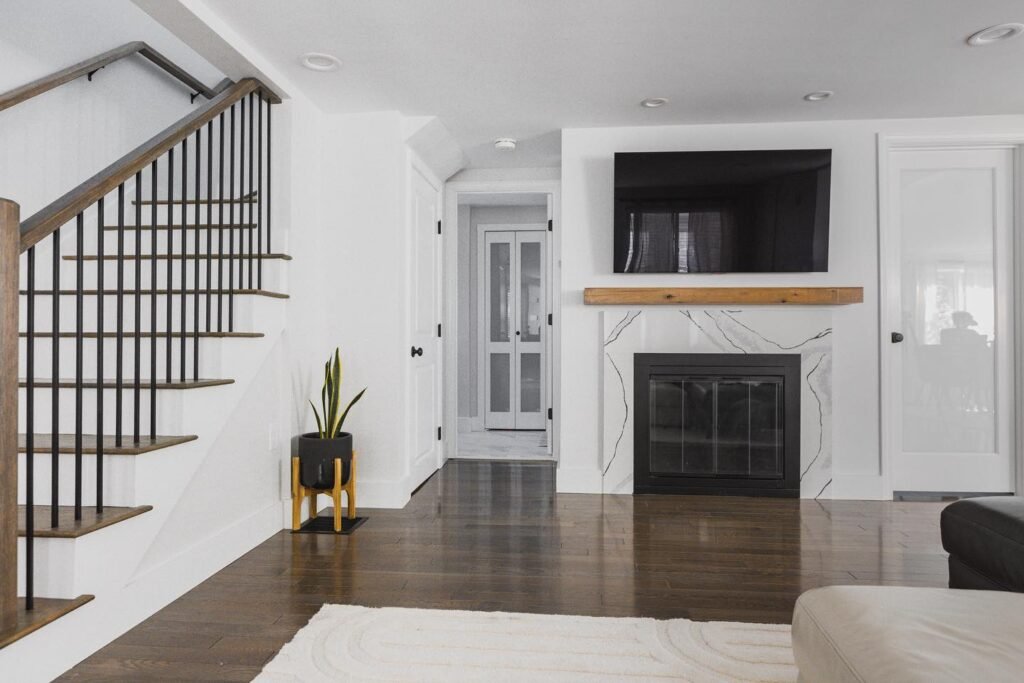
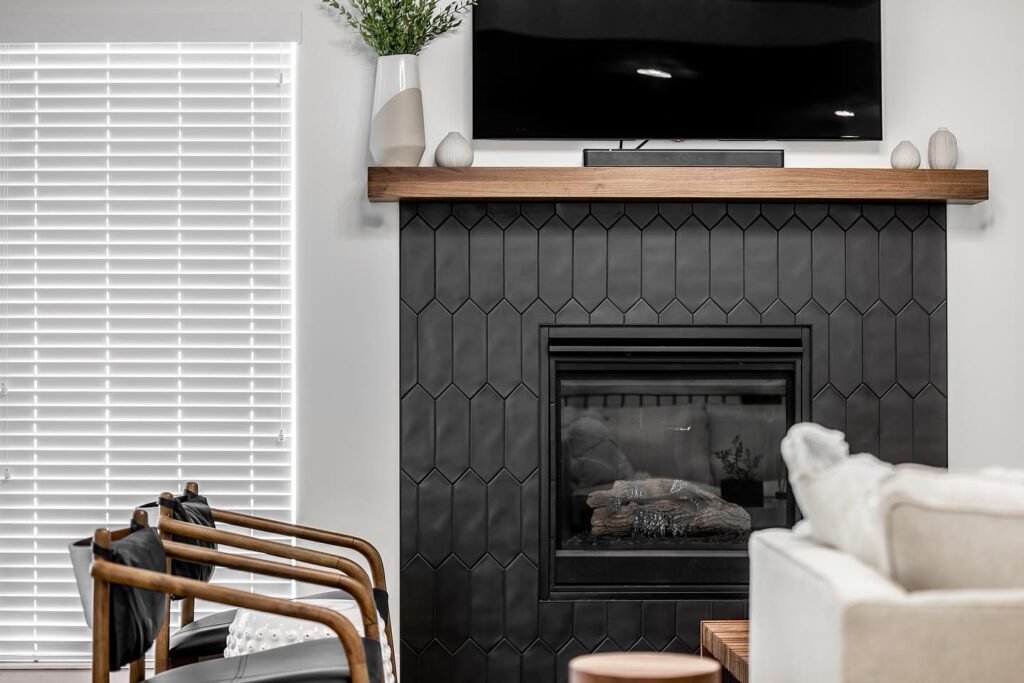
Finishing Touches: Drywall, Flooring, and Aesthetics
Time for the fun stuff! This is where your basement comes to life.
Drywall Installation and Finishing: Creating Smooth Walls
Hang drywall on the walls and ceiling. Tape the seams. Then, mud and sand. This makes a smooth surface for paint.
Take your time with drywall. It is worth it. A smooth finish looks professional.
Flooring Options: Choosing the Right Material
Pick a floor that works for basements. Carpet is soft and warm. Tile is good for wet areas. Laminate is easy to clean.
Put down a moisture barrier first. This protects the flooring. It also keeps mold away.
Painting, Trim, and Final Details: Adding the Finishing Touches
Paint the walls a light color. This makes the basement feel bigger. Add baseboards and trim around doors. These details make it look finished.
Pick colors you love. Think about the mood you want to create. Add personal touches. This makes the space your own.
Conclusion
Finishing your basement is worth it. It adds value to your house. It gives you more living space. And it makes your home more functional. Plan carefully. Do the work right. And follow the codes. Then, enjoy your new space! Start planning your dream basement now. Don’t wait to complete your basement finishing project!
